# Getting to know the U.I.
# Logging in
First things first, you’ll need to log into the Orderwave User Interface (UI). In your web browser, navigate to https://{your-company}.orderwave.com/ - The value for {your-company} will be in your welcome email, along with your temporary password.
Enter your email address and password, and you’ll be in your Orderwave account.
TERMINOLOGY ⚡
U.I. stands for User Interface.
# Navigating the U.I.
The Orderwave UI is simple! Across the top of the application, you will see (from left to right):
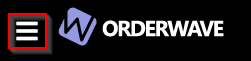
# Navigation Menu
Three long white bars. You can click this to expand the left-hand-side menu, to see the names of the navigation buttons.
# Orderwave Application Logo
The Orderwave application logo. You can click this at any time to return to the dashboard.
# Products and Orders Buttons
The Products and Orders buttons. You can click these at any time to navigate directly to a list of products or orders.
# Quick-Search Side-Bar Button
The quick-search side-bar toggle button. You can click this (or type “/” on your keyboard) to open up a quick search field that you can use to search for order numbers. We also will display recent orders you’ve worked with in this area.
# Pins Side-Bar Button
Toggle the saved "pins" right-hand-side pins menu. You can click the pin icon on different screens to "pin" them to this side-bar for quicker navigation in the future.
# Application Menu
The application menu. Click this at any time to view Settings and Admin features, or sign out of the application completely.


Documentation Tip
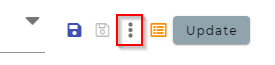
When you see this in these docs: , we're directing you to click on the Application Menu (kebab menu), click on "Admin", and follow to the link on the Admin page. When you see , we're also directing you to click on the Application Menu and click on "Settings", and find the link to that page on the Settings page.
# Using the U.I.
The application UI was developed to be highly consistent across the various pages, so that once you understand the basics, each different section will look and behave roughly the same. Actions like creating/updating new orders, inventory, products, and even rules and automated tasks, all follow the same the patterns in the UI.
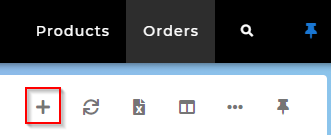
# Creating something new
Creating anything in Orderwave always starts with the ➕ button. It is visible on each page that lists information, or the detail pages for any item. For example, to create a new order, navigate to the orders section, and click the ➕ button. But to create a new rule, navigate to the Rules section, and click the ➕ button.
TIP
If you do not see a ➕ button in a section, that is because it cannot be created. This is most commonly because the items you're viewing belong to a parent item. For example, a shipment cannot be created on its own, since a shipment cannot exist without an order.
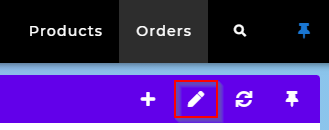
# Updating something
When you are viewing anything in Orderwave, you can edit it as well. Just click the ✏ button to edit it. Only the fields that are available to edit/update will be shown.
TIP
All changes, from any user, are kept track of in the timeline.
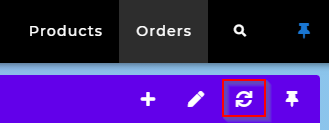
# Refreshing
Occasionally, it's necessary to refresh the screen you're looking at. Perhaps another user has changed something, and you want to see the latest changes. Rather than using your browser's refresh button, you can use the built-in 🔃 button to load the latest from Orderwave. It is faster then reloading your enter browser.
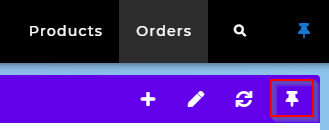
# Pinning
As you start to use Orderwave more and more, you may find that you want certain pages to be accessible very quickly. Using the "pin" feature will dock the page to the right-hand-side of the U.I., for quick access.
To remove the pin after setting it, simply click it again.
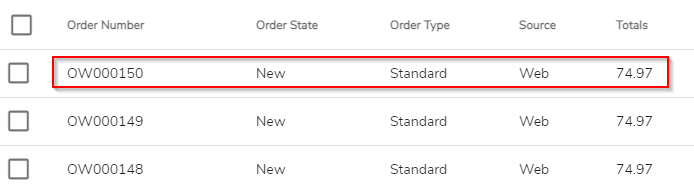
# Viewing detail pages
By and large you will navigate to a list of orders, shipments, settings, rules, etc in the U.I. To view the detail of any one of these items, click on any of the text in the list view.
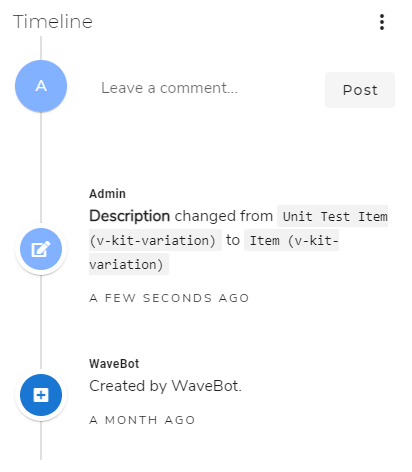
# Timeline & History
Each detail page contains a Timeline - a collection of the history of the item. It will contain entries for when it was created, updated, and any notes/messages about the page.
You can type pertinent messages here, and CC other users to trigger an email to them. To CC a user, start typing the @ symbol and their name, and a list of names will appear for you to choose.
# Tagging
Tags are a core feature in Orderwave, and help you categorize anything, across the entire application.
TIP
You will need to be an administrator to create new tags. To use tags (add them or remove them from an order/shipment/setting), you will need the "Add Tags" and "Remove Tags" permissions.
Tags both help categorize your information, and can change functionality. For example, an order tagged with "Tax-Exempt" will not calculate taxes (this is a core Orderwave feature and tag).
Other tags that you create can help change functionality when combined with rules. For example, you may tag orders as "Lithium Ion", and apply changes to shipment methods that avoid air travel.
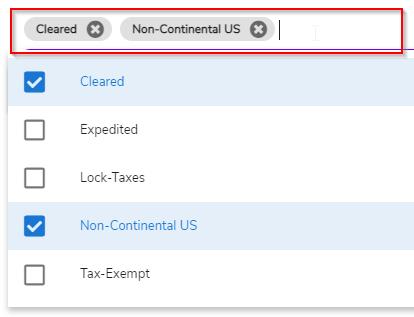
# Searching with tags
In addition to categorizing and customizing your business rules, tags are valuable data for helping you search and filter your data.
# Keeping tags organized
Only admin users can create new tags. Users in other groups can use those tags (add/remove them to orders/products/etc). This is by design, so that administrators can be sure that tags are used correctly, and are not redundant or meaningless. Tags can drive powerful functionality through rules, so keeping them organized and meaningful is important.
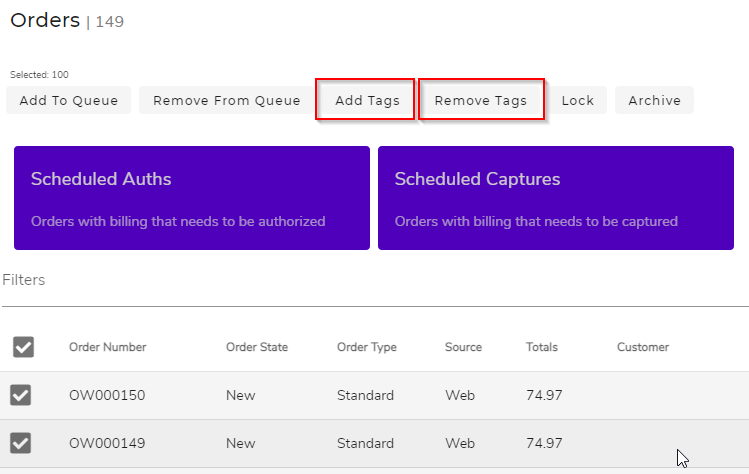
# Queues
Queues are a powerful feature that can be used across the application. By creating and queues, you can effectively implement workflows in Orderwave for any business process.
# Queue features
Queues can be simple process queues for customer service to work through, or part of complex workflows for automated systems. Queues can be used to mark orders/products/inventory/etc for export to another system, or be used in chain of user related events. Queues can even help track down errors, and signify reattempts on automated processes.
In combination with rules, queues can be automated to be added to items, or removed from items, based on your custom business rules.
# Filtering / Searching
Orderwave was designed with a "find anything" goal. Thus, the filter tools built-in to each section are very powerful.
To filter any data, navigate to the section for that data. For example, to search for orders, click on "Orders" at the top of your screen.
Filters are available by different properties:
- Main information
- Tags
- Queues
- Sub-information (this could be many items)
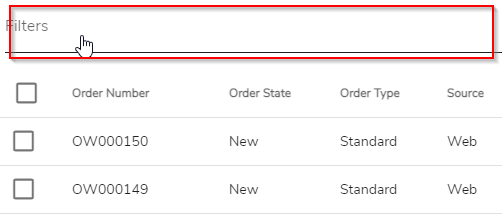
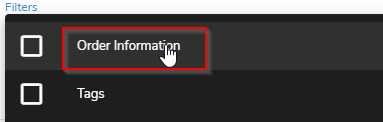
Click anywhere in the filter bar to start filtering your data. Depending on which section you're in inside of Orderwave, you will see different options that pertain to that section.
To search for the most top-level type of information, choose the first filter type. For "orders", this would be "Order information".
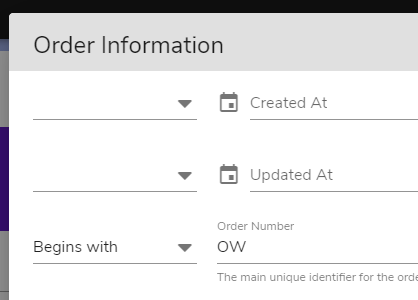
Fill out your filter query, customizing your search data and operators, like "Equal to", "Contains", "Begins with", etc. Only the fields that you enter will be used to search the data.
Add tags and queues to your search filters to drill down even more.

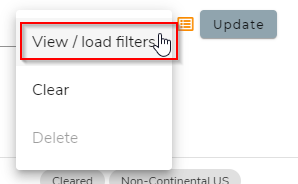
# Save your filters
Save your filters and share them with your team members. This will allow you to quickly apply the filter later on, and let team members do the same. Admin users can setup automated tasks based on public saved search filters.
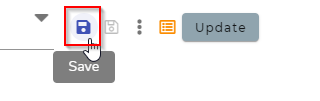
If you need to make changes, use your filter by choosing it from the list, or if you have turned it into a button, click on it. Then make your changes to the filter, and click on the 💾 button to save it (or the other "save as" button to make a copy).
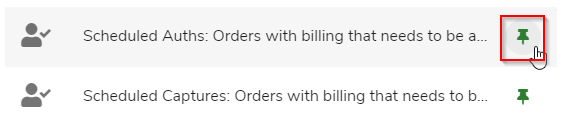
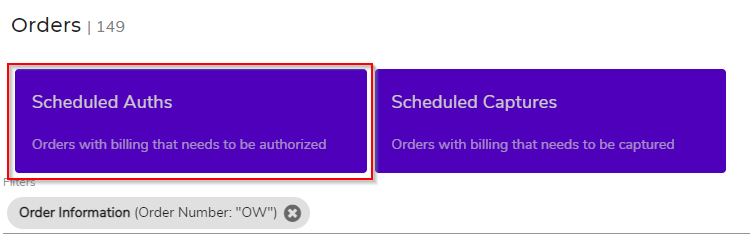
Pin your saved filters to access them at the top of the screen. These are handy shortcuts that allow you to quickly locate anything in Orderwave.
# Linking
You can link anything to anything else in Orderwave, and Orderwave will automatically link certain items together (like exchange orders). When on any detail page, click the Link button, and a new window will appear.
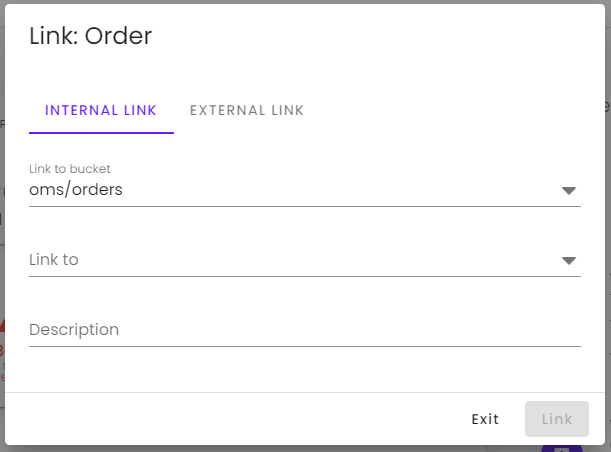
Orderwave will default to the bucket that you're working with, and you can search for the item to link it to. Change the bucket to another related bucket to search for something else entirely.
| Field | Description |
|---|---|
| Link to bucket | The bucket that holds the item you want to link to. |
| Link to | The item you want to link it to - search for the unique values for that item to link it. |
| Description | (Optional) You can describe the link here if needed. |
Additionally, you can provide external links.
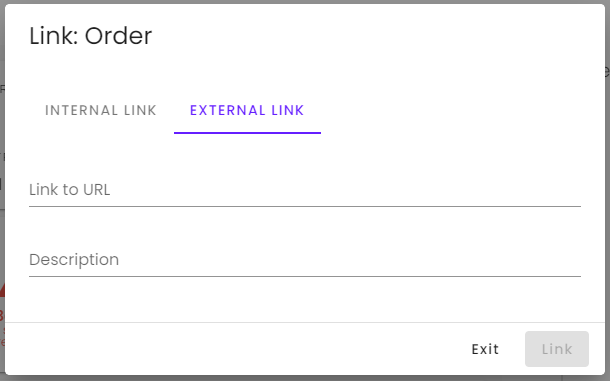
| Field | Description |
|---|---|
| Link to URL | The webpage that you want to link to - it should start with "http". |
| Description | (Optional) You can describe the link here if needed. |
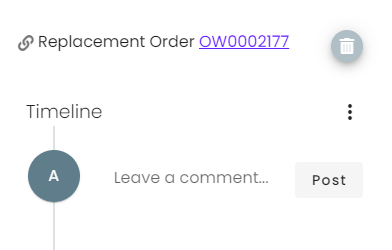
After you have saved your link, your links will appear above the Timeline section on the detail page. You can click the trashcan icon to remove them. When you remove links, a note will be automatically placed on the item, noting that the link was removed.
# Locking
We realize that some settings, inventory, and even orders are critically important, and although users may have access to them, it may also be important for them to not be modified by anyone but a member of your Admin group. In this case, there is Locking.
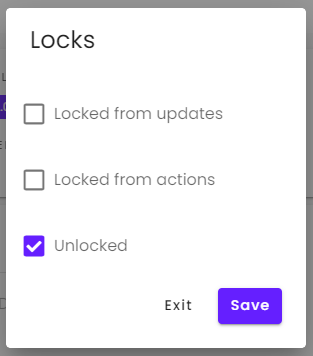
On any detail page, an Admin can click the Lock button to lock the item from updates or actions.
# Locking types
| Type | Description |
|---|---|
| Locked from updates | When you lock an item from updates, users cannot use the ✏ window to edit it. If they attempt to save changes, Orderwave will respond with an error, letting them know that the item is locked from updates. |
| Locked from actions | When you lock an item from actions, the various buttons (and the actions they trigger) are locked. For example, adding something to a queue is an action, as well as tagging it. Rules that attempt to run actions on items will also encounter errors on locked items, if the triggering user is not a member of the Admin group. |